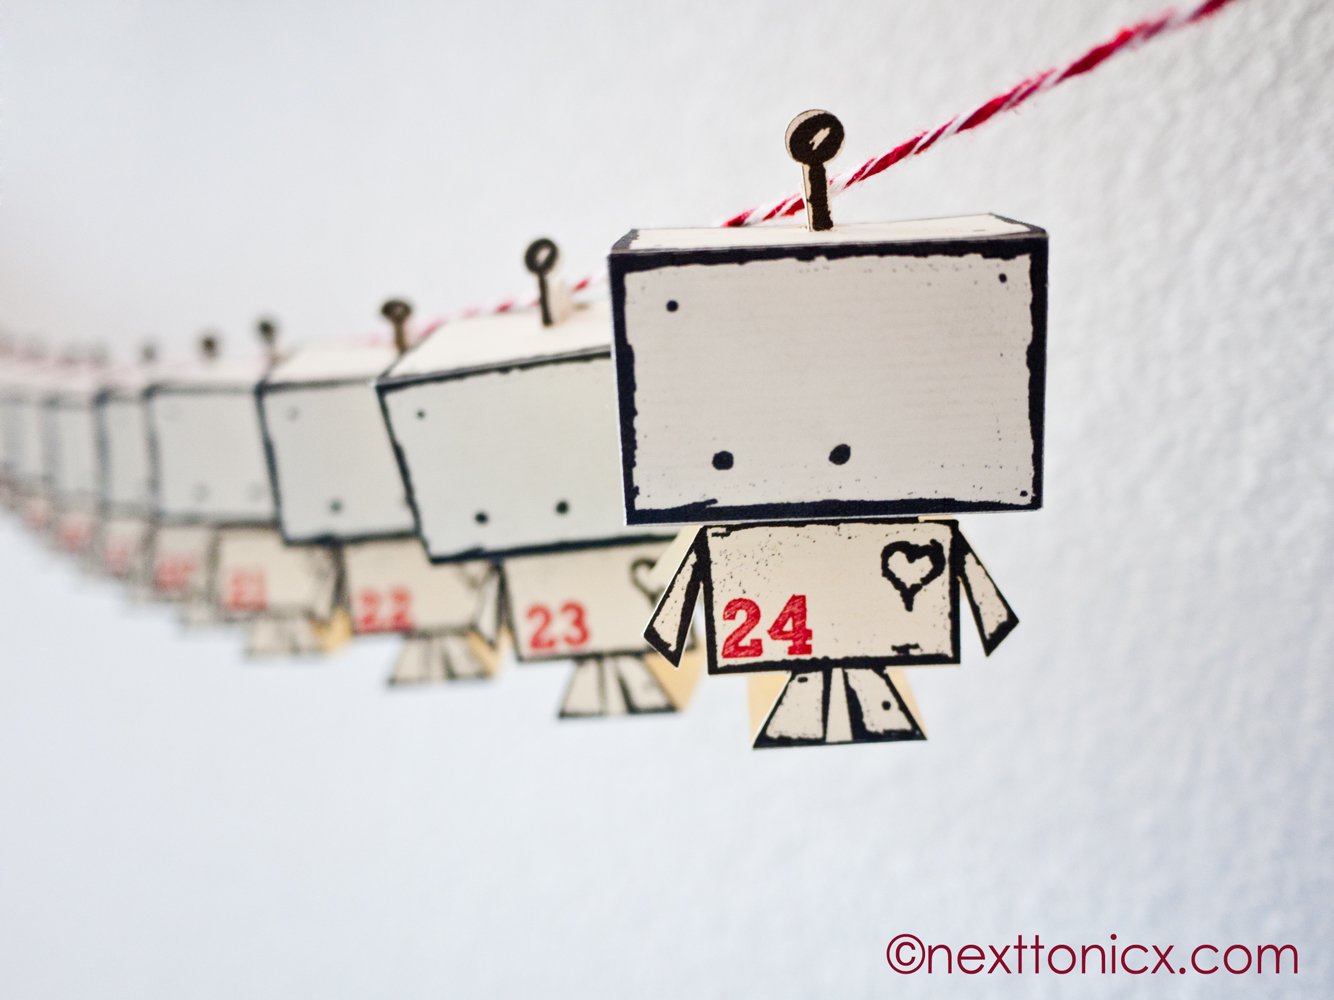
A little robot advent (updated)
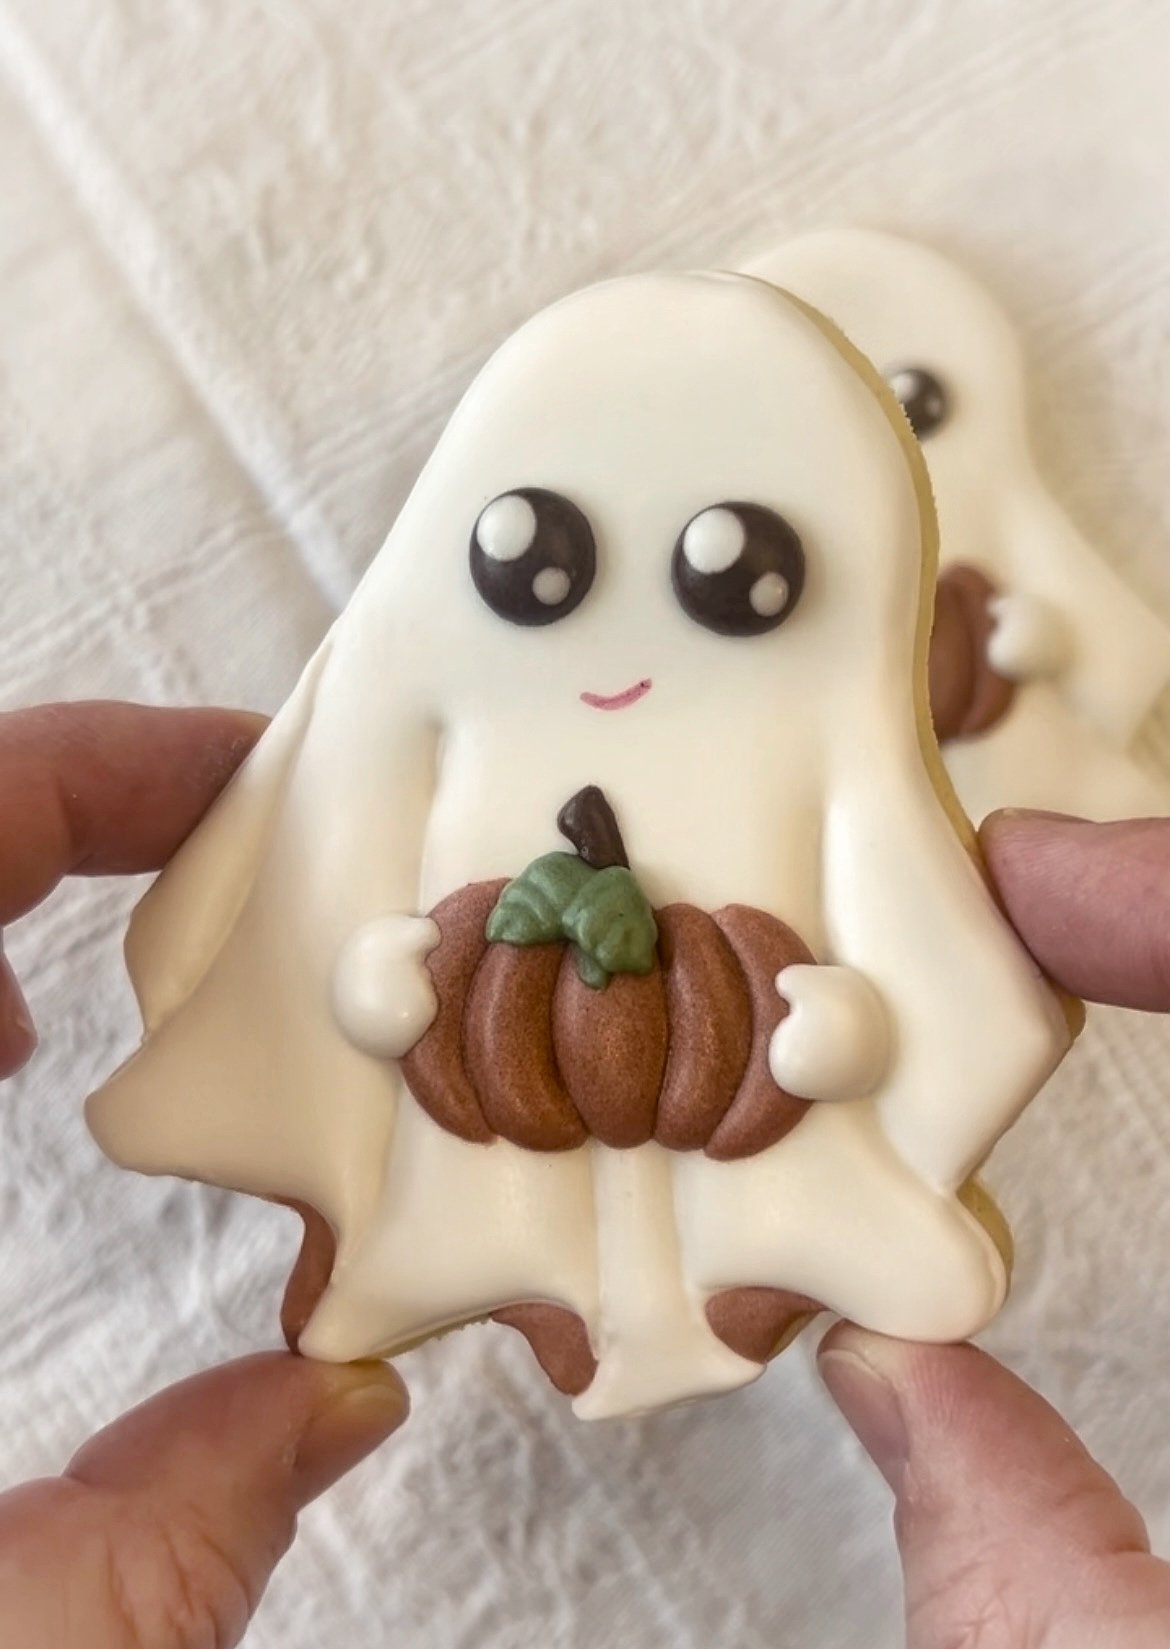
Download Your Cute Ghost Cookie Cutter STL File
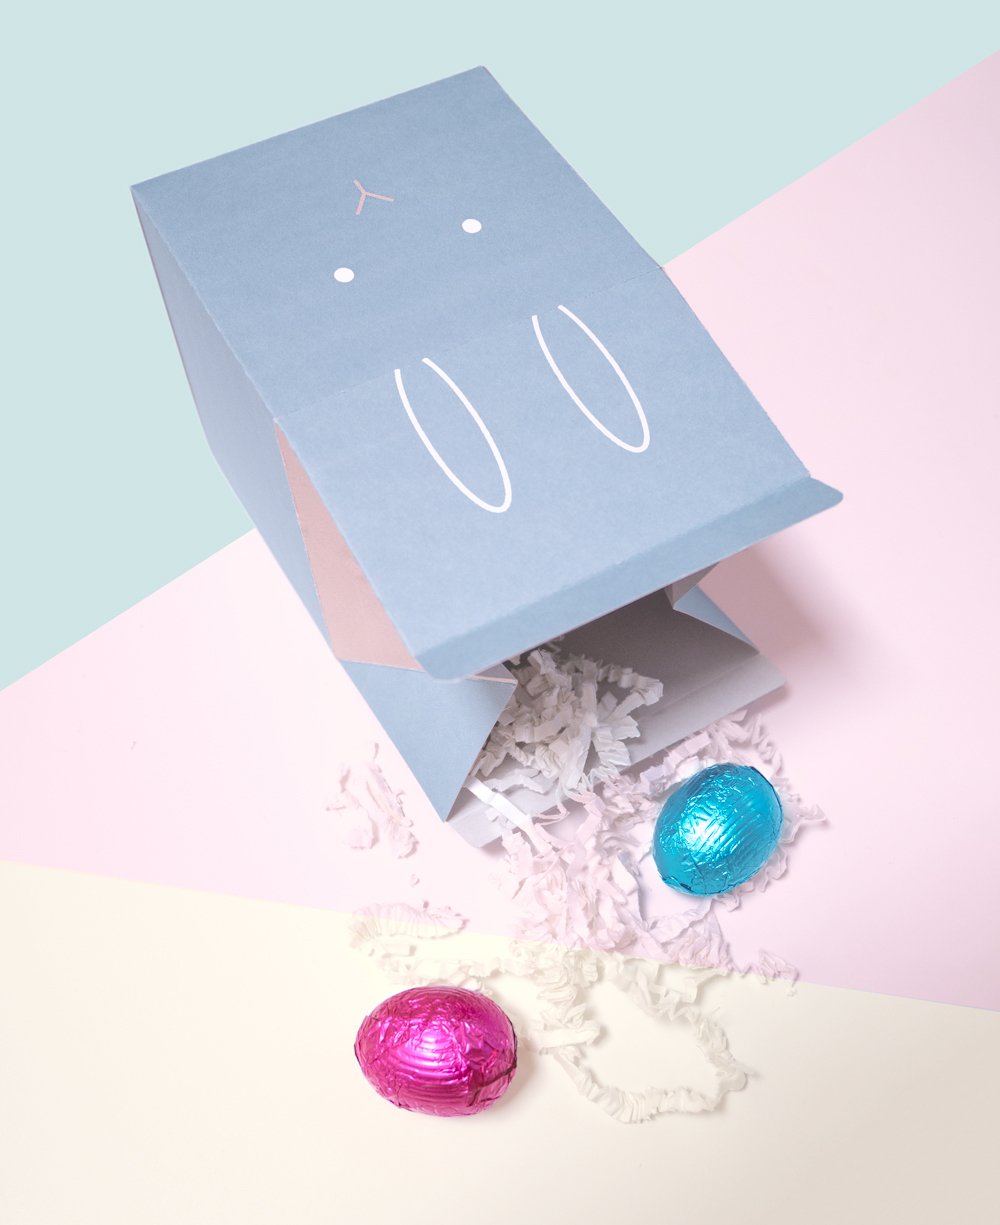
Bunny Milk Cartons #2
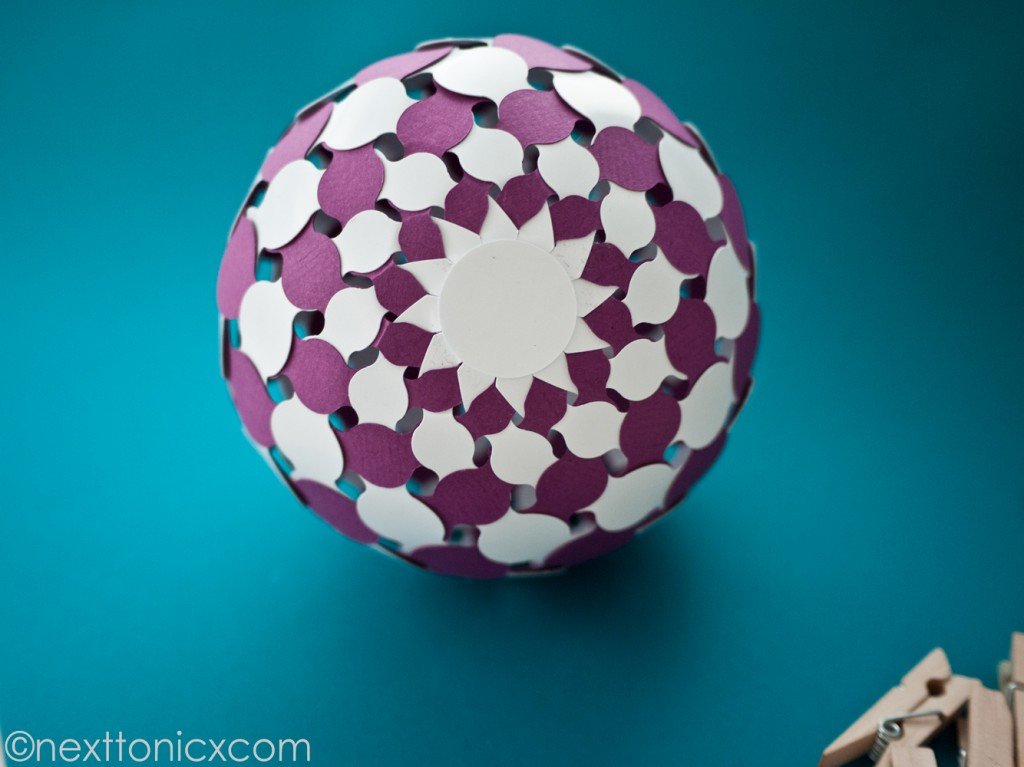
Woven paper baubles
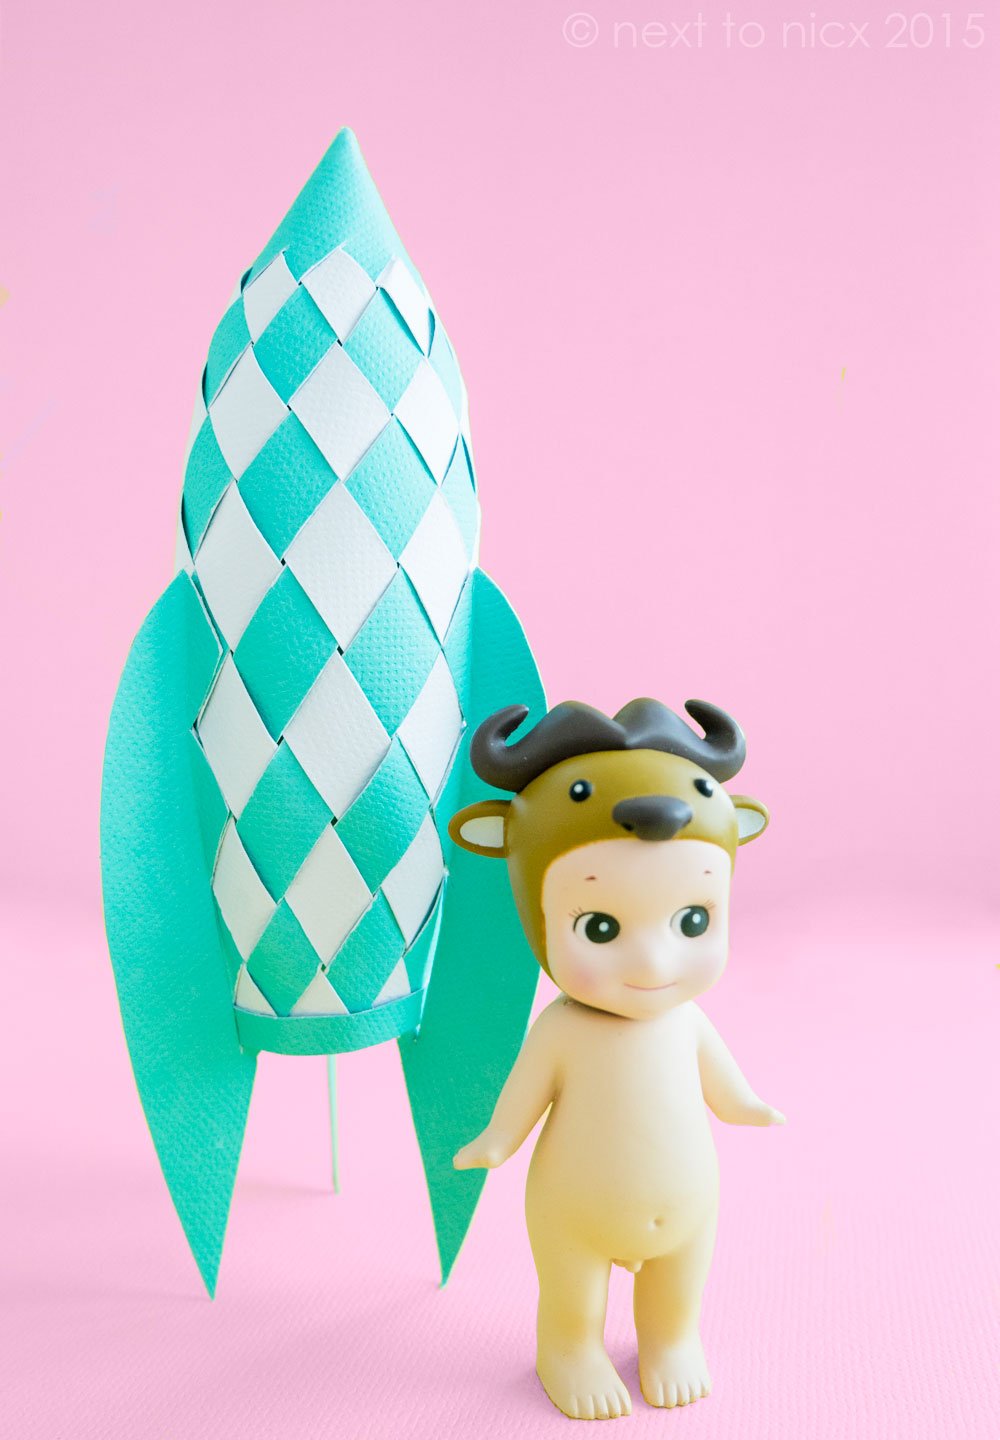
Woven paper rocket
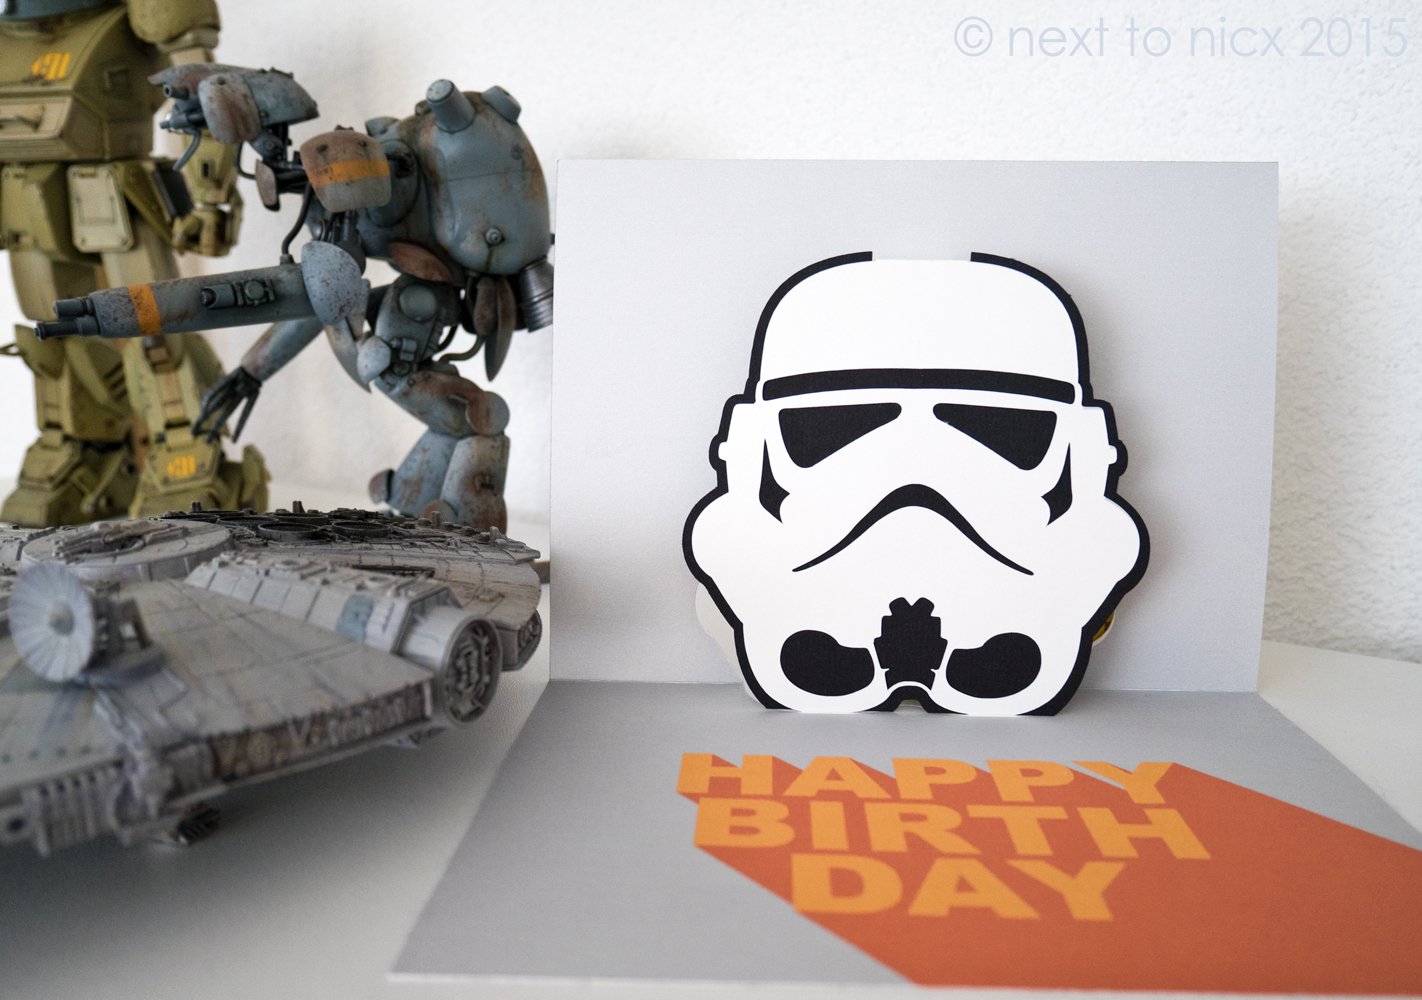
Stormtrooper pop up card
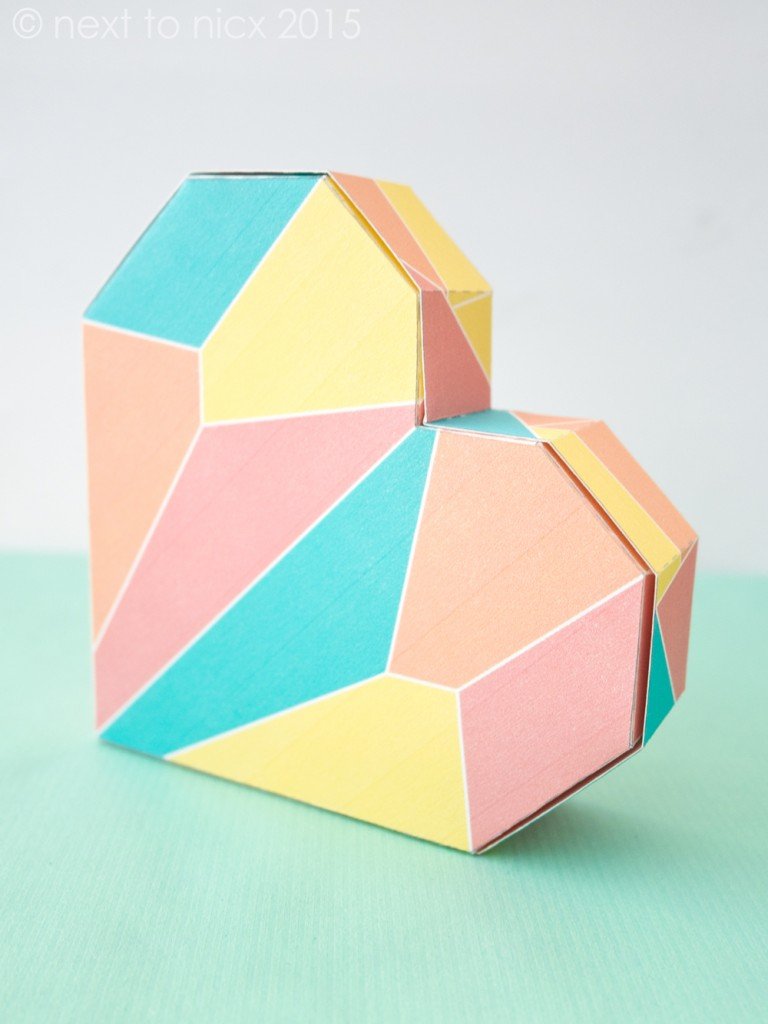
Heart Gift Box Template
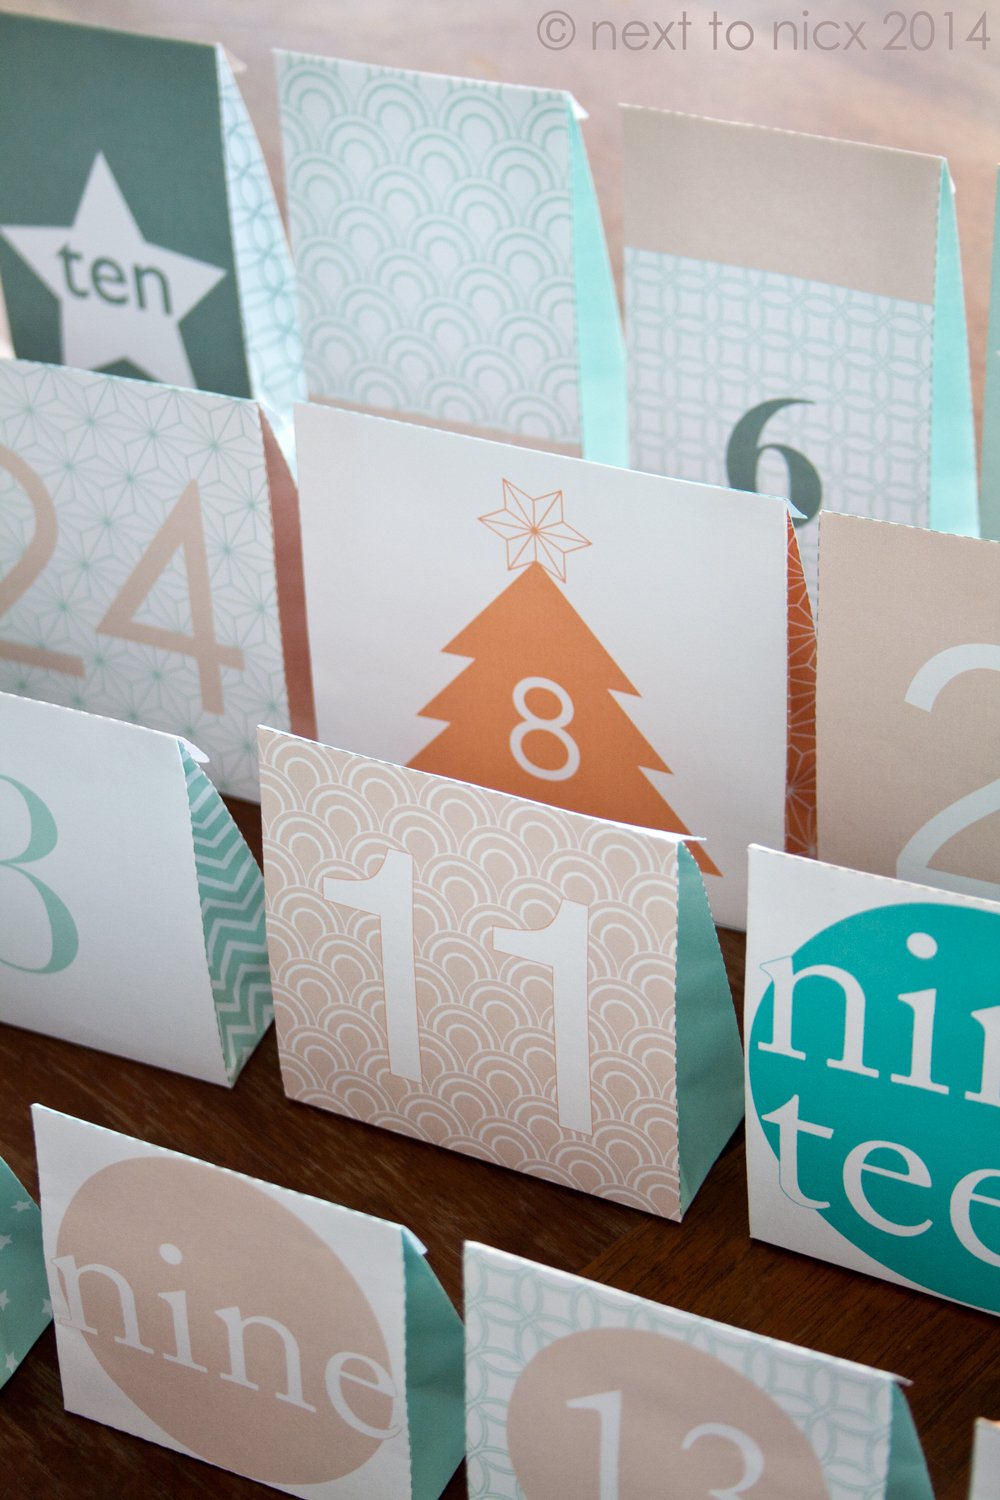
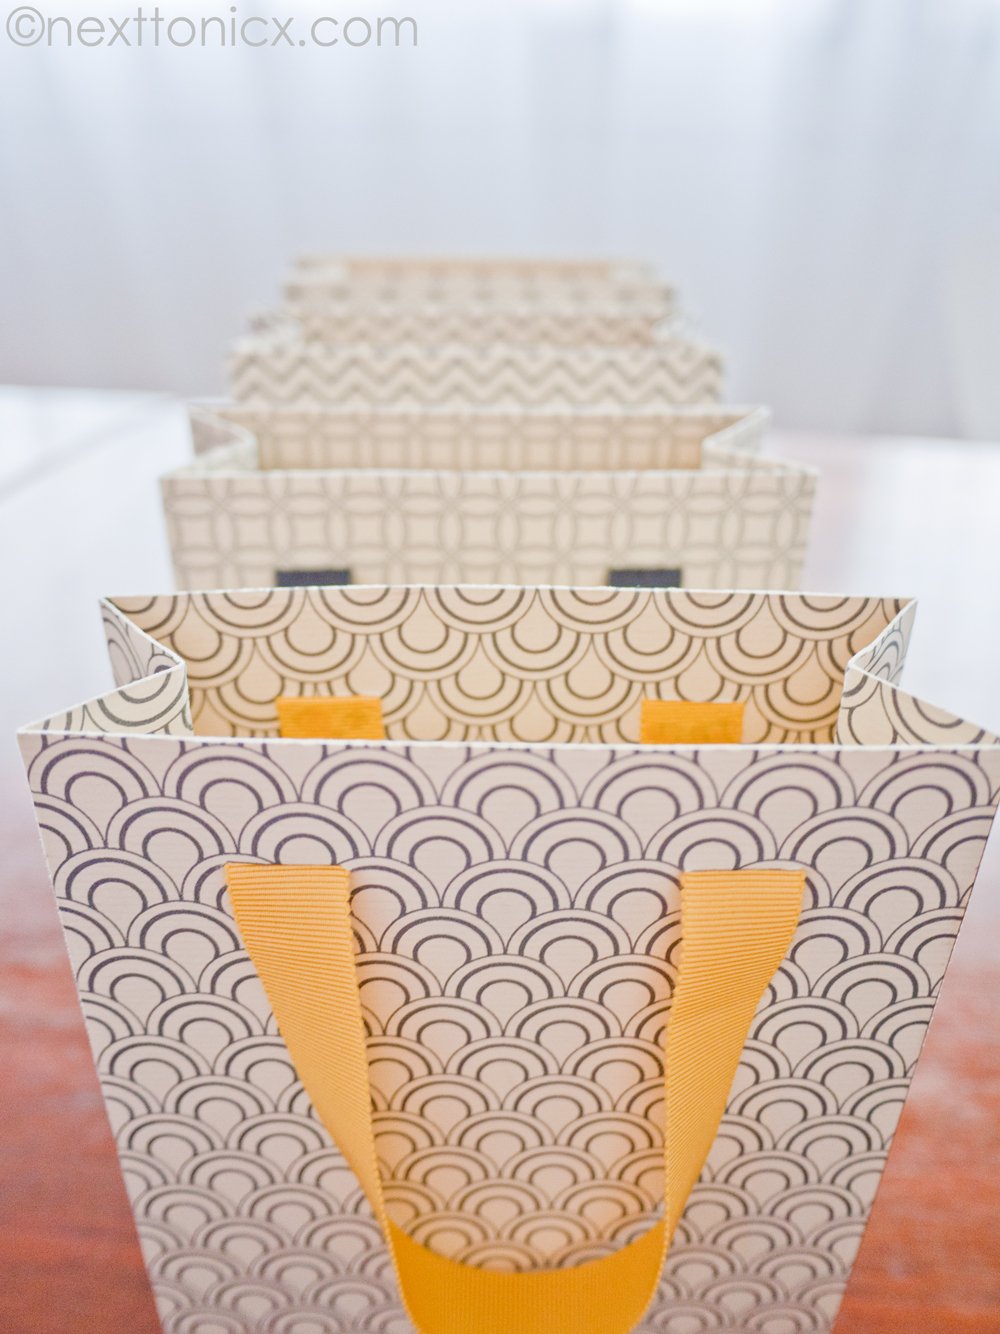
Small Paper Bag Advent Calendar
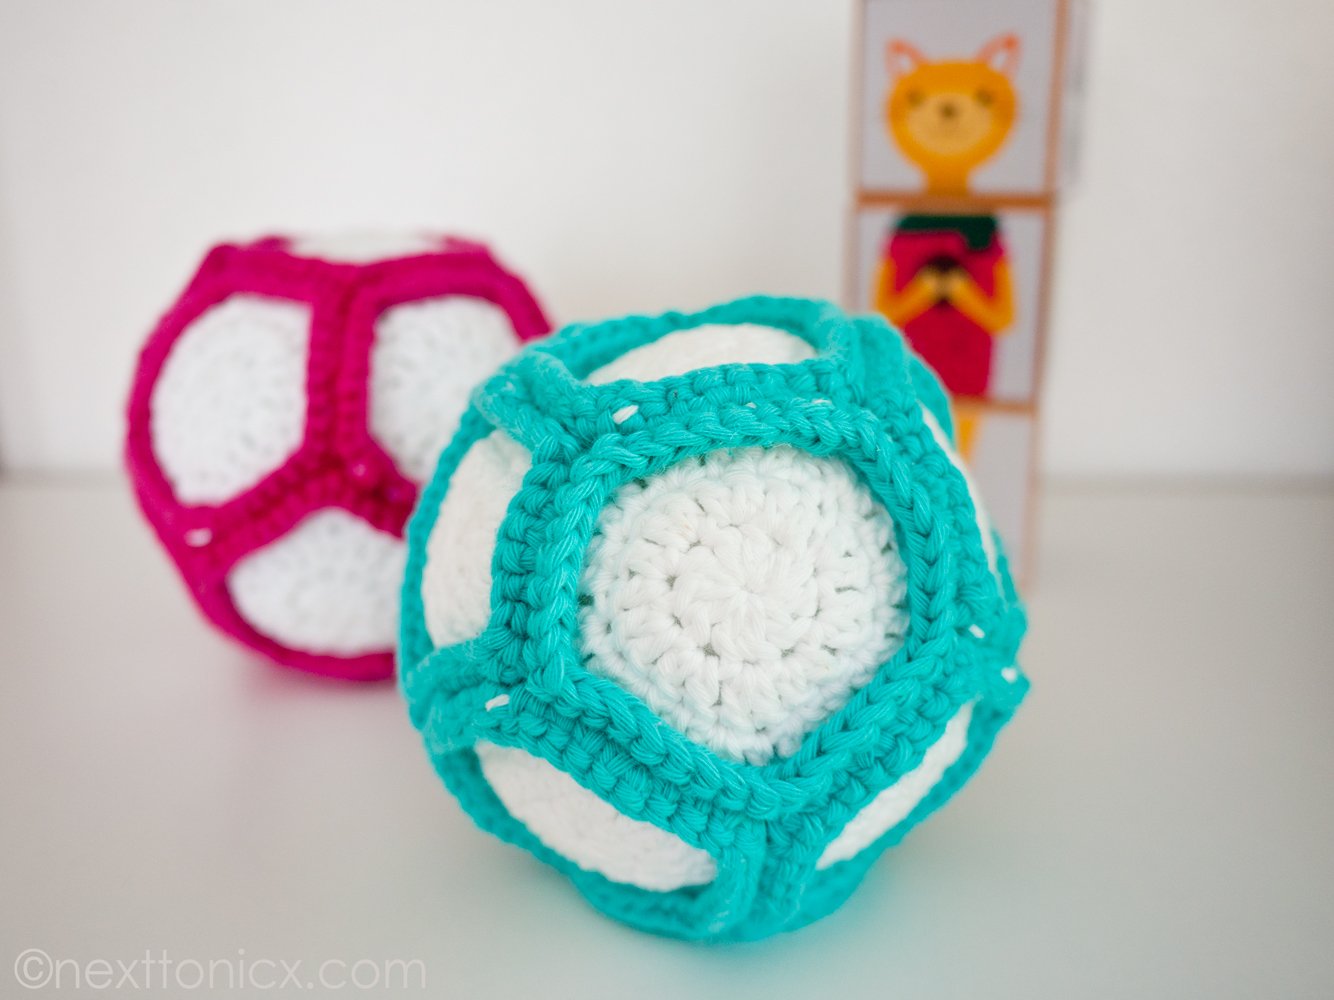
Crochet rattle ball
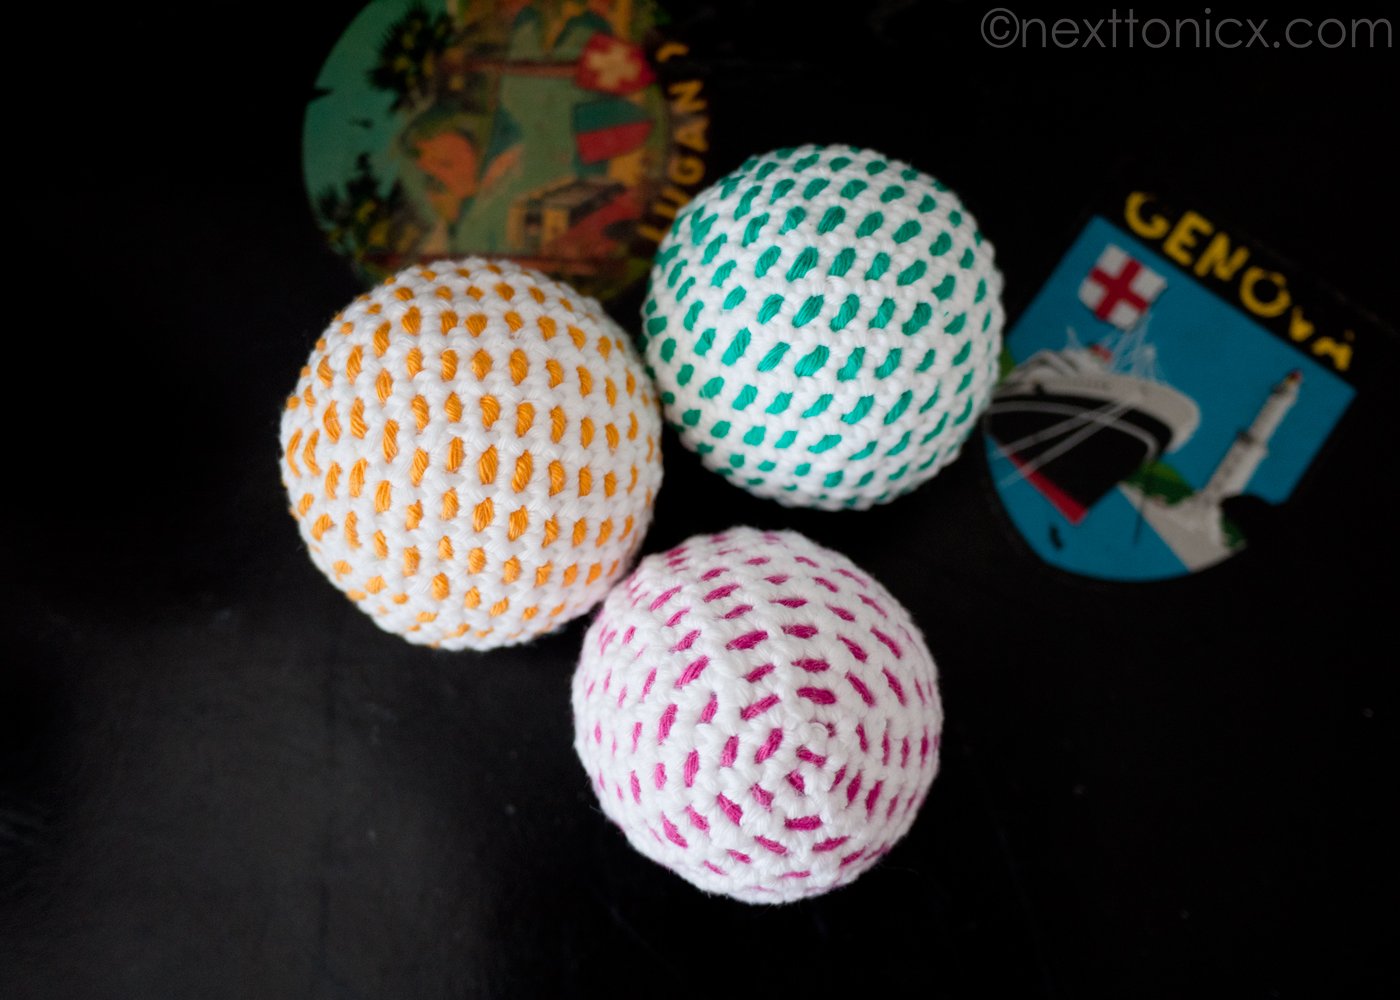
Crochet Baby Toy - Noise Makers
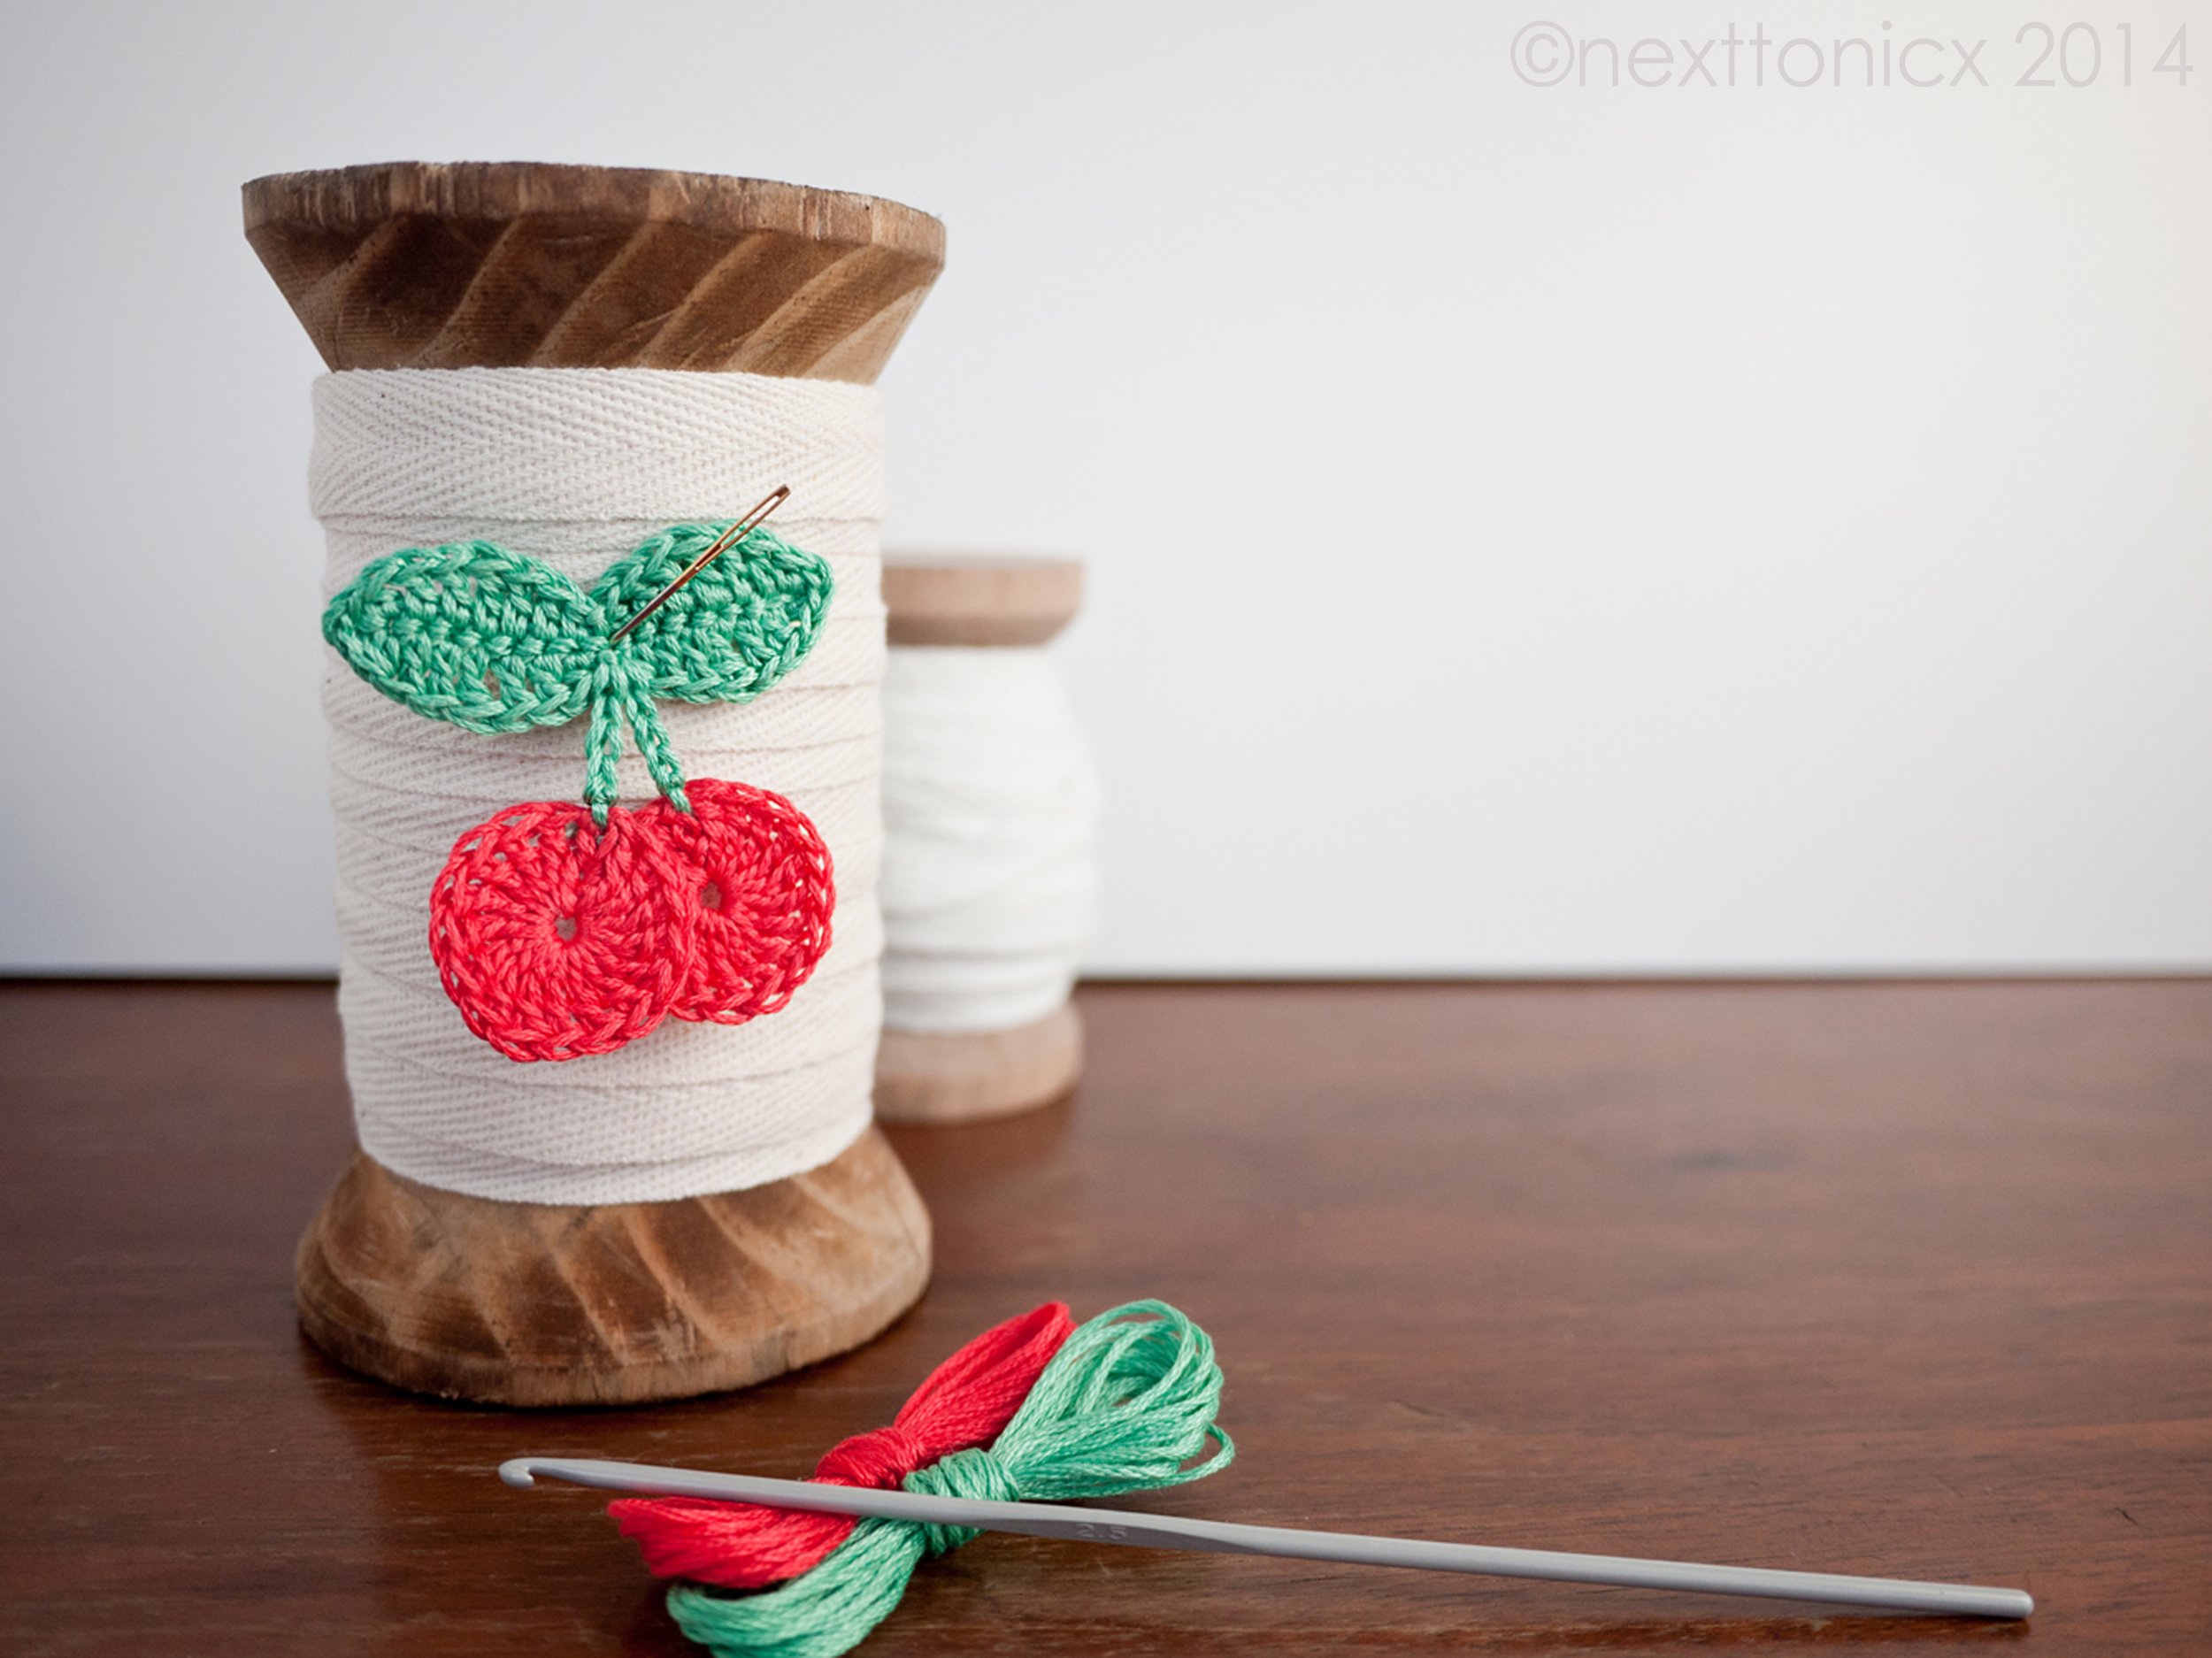
Crochet Cherry Pattern
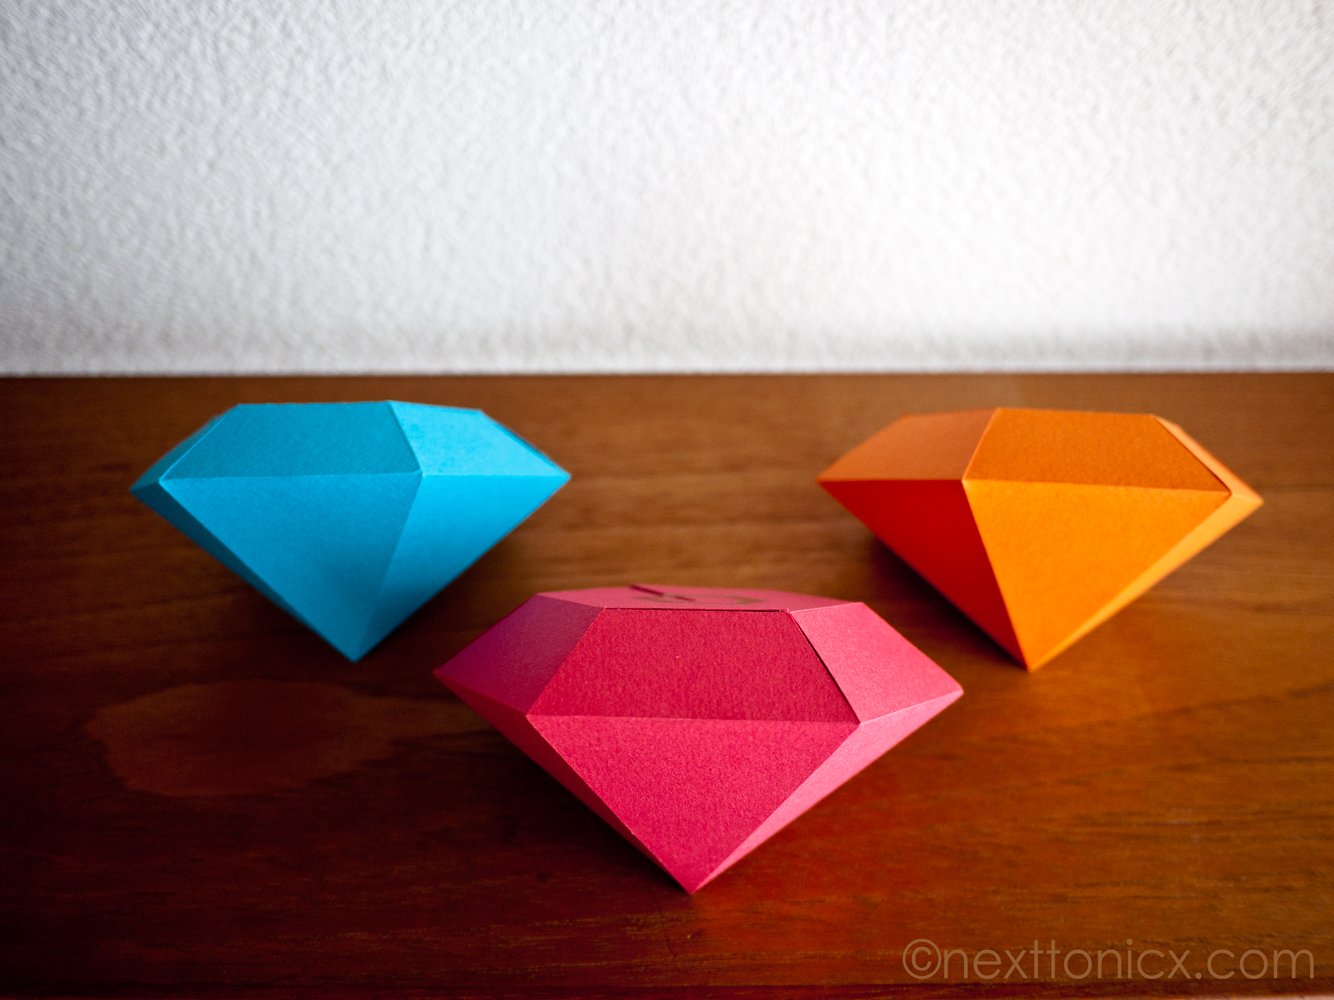
Diamond shaped gift box packaging

Paper Tea Cup #1 Lid (insert option)

Paper Tea Cup #2
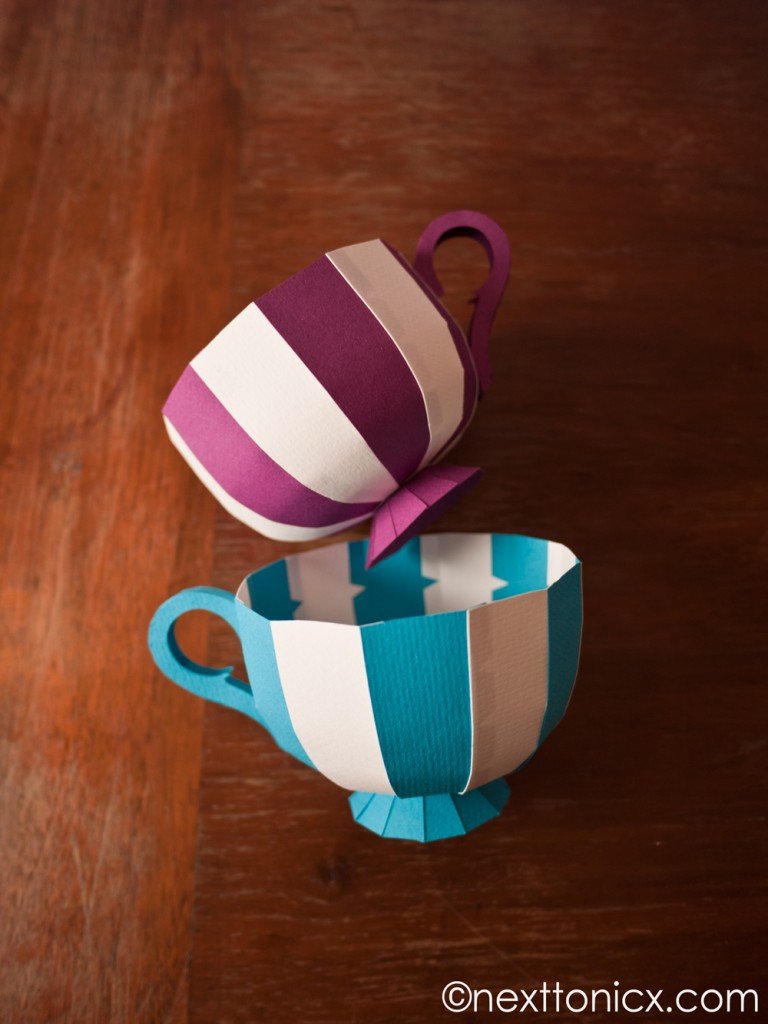
Paper Tea Cups #1
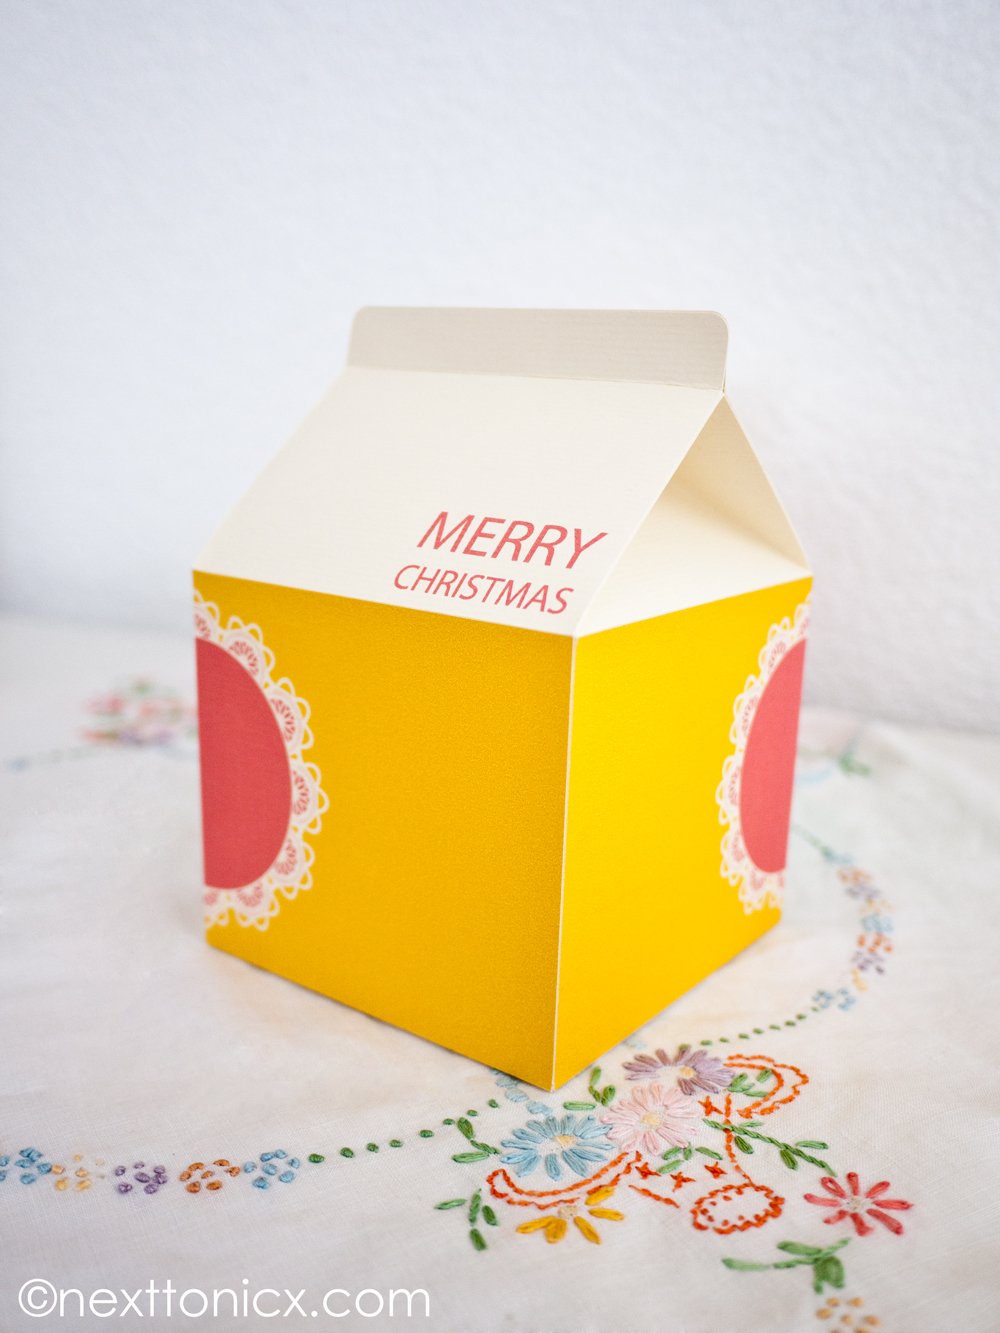
Christmas Packaging- Milk Cartons
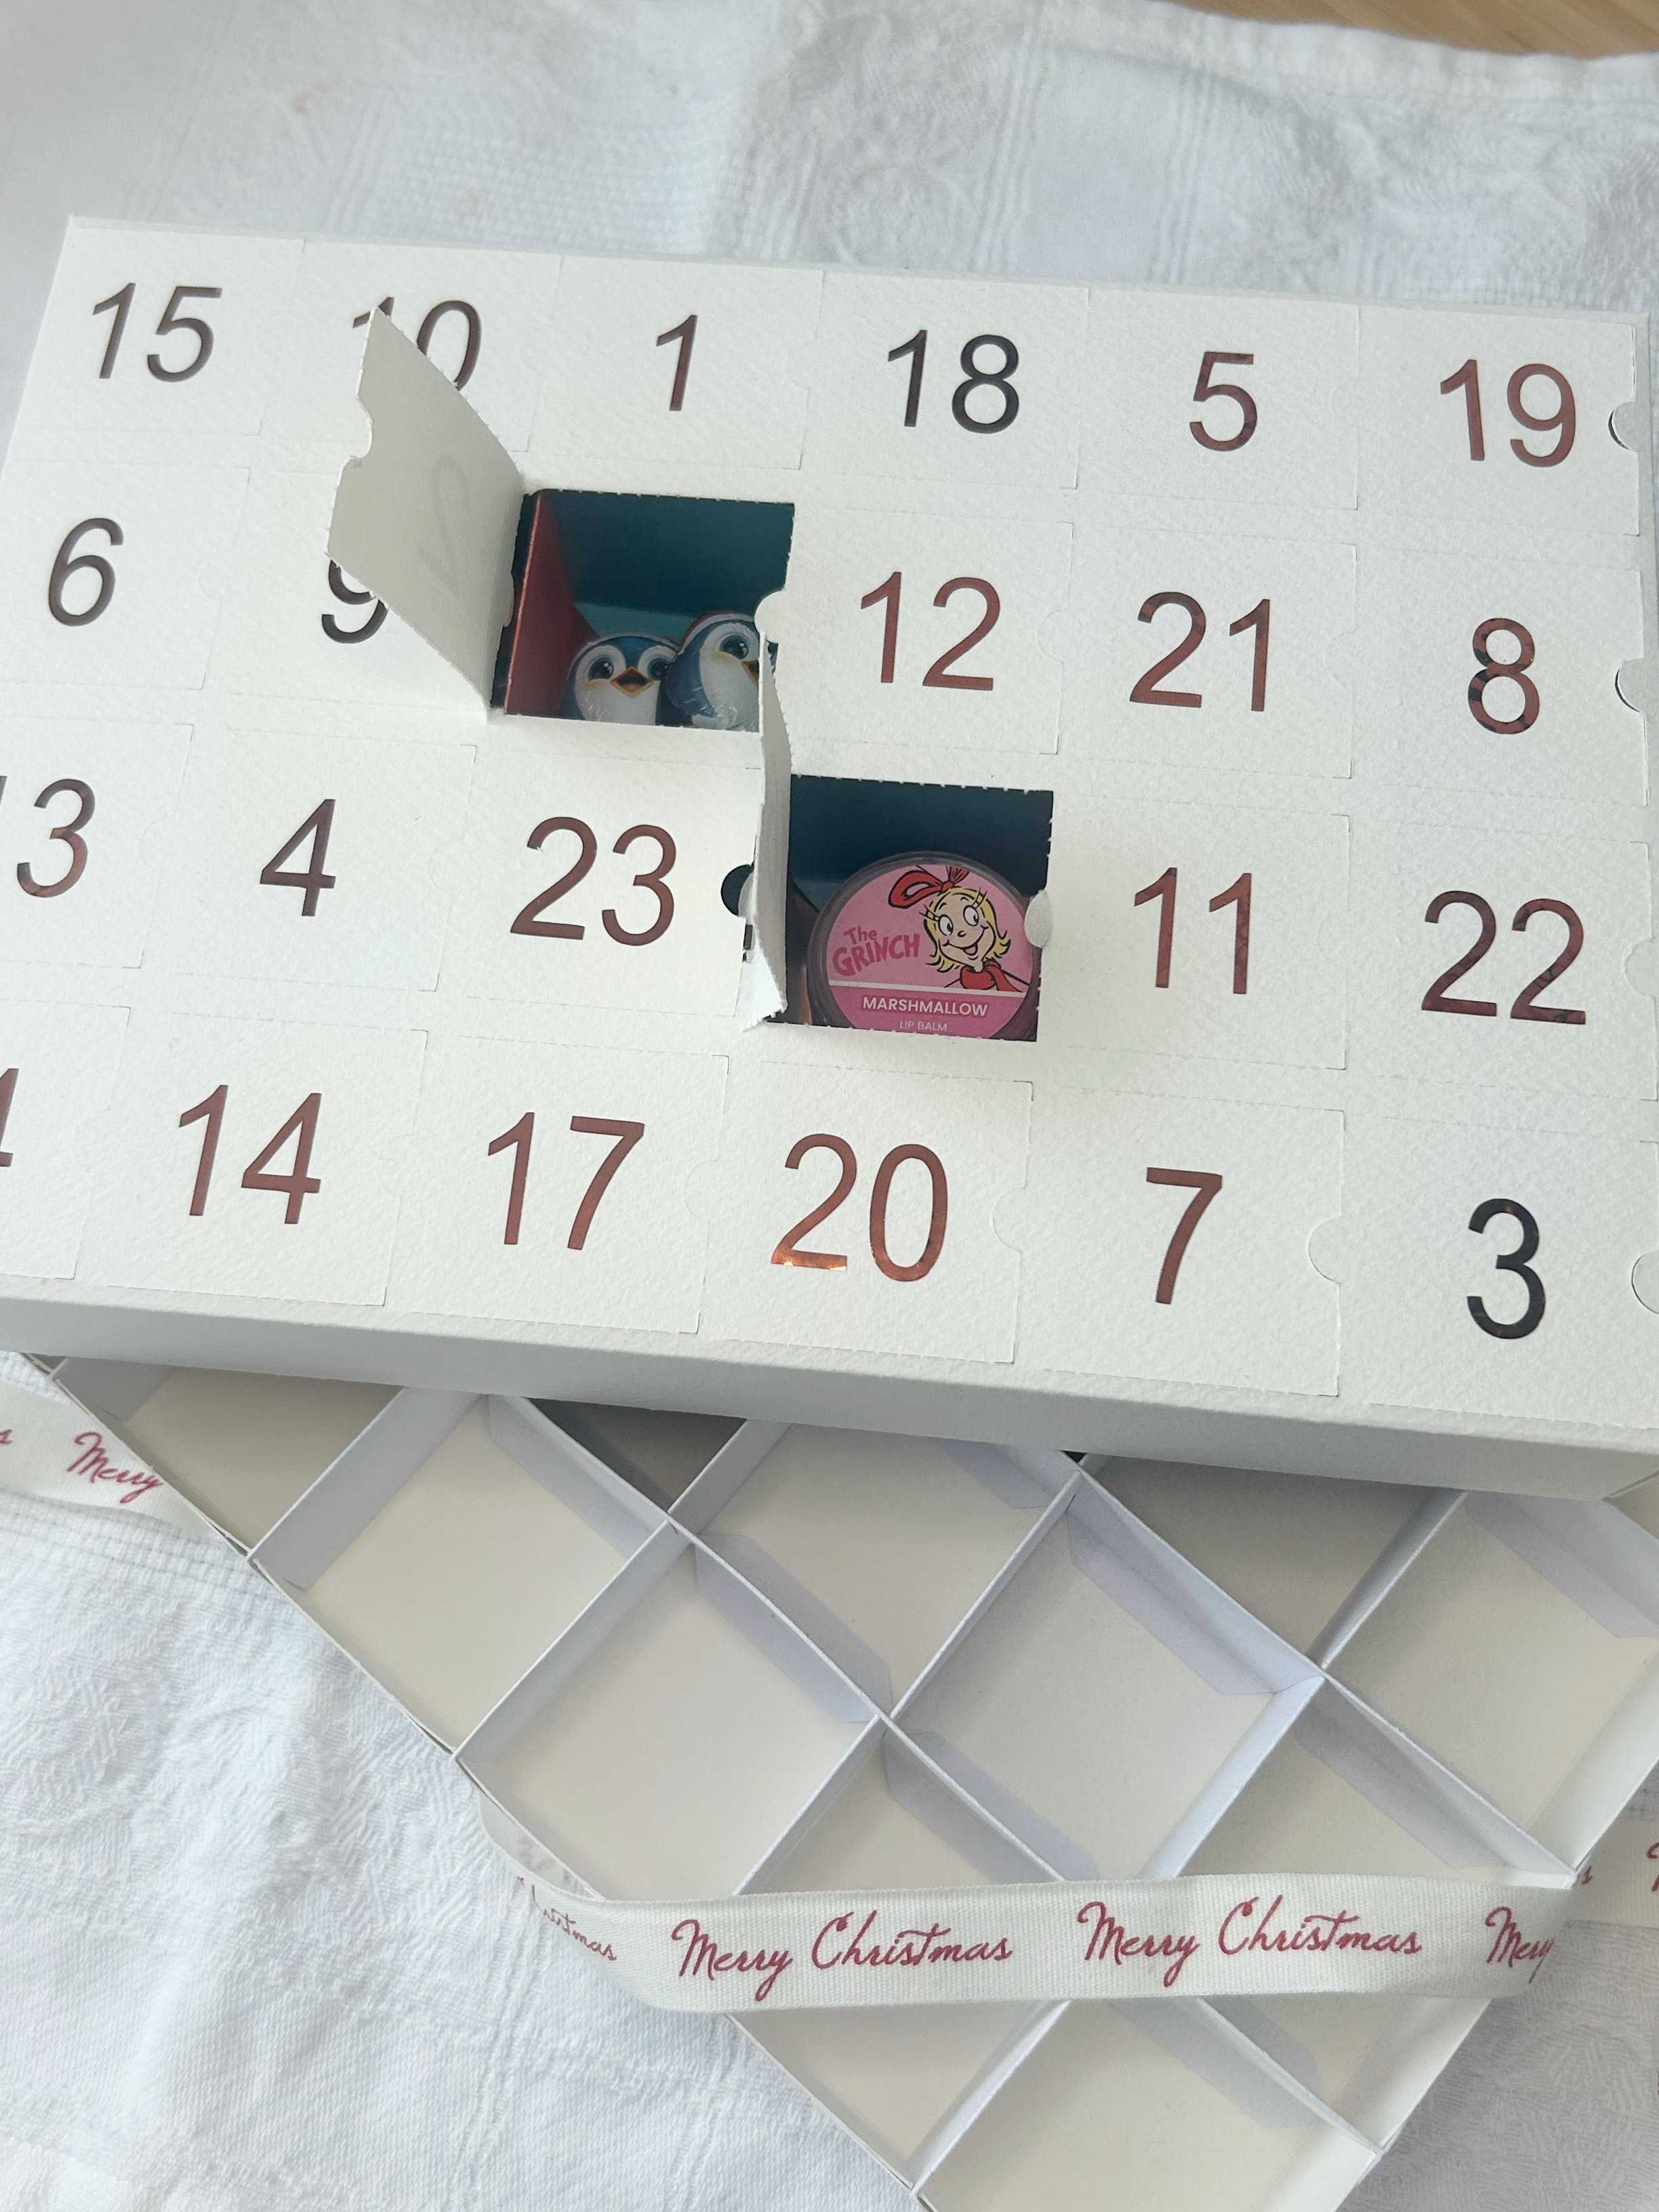
DIY Advent Calendar Template